This easy Garlic Hummus Recipe is healthy, fresh, creamy and loaded with garlic flavour! Made with a few simple ingredients, and a strong blender, the result of a beautiful whipped hummus is perfect for healthy snacks! Store-bought hummus will never taste the same.
Almost every time we need an appetizer, I make this hummus. Serve it as a dip with whole-grain crackers or vegetables. Make a complete Middle Eastern spread with Greek chicken kabobs, quinoa tabbouleh, falafel and fresh whole wheat pita.
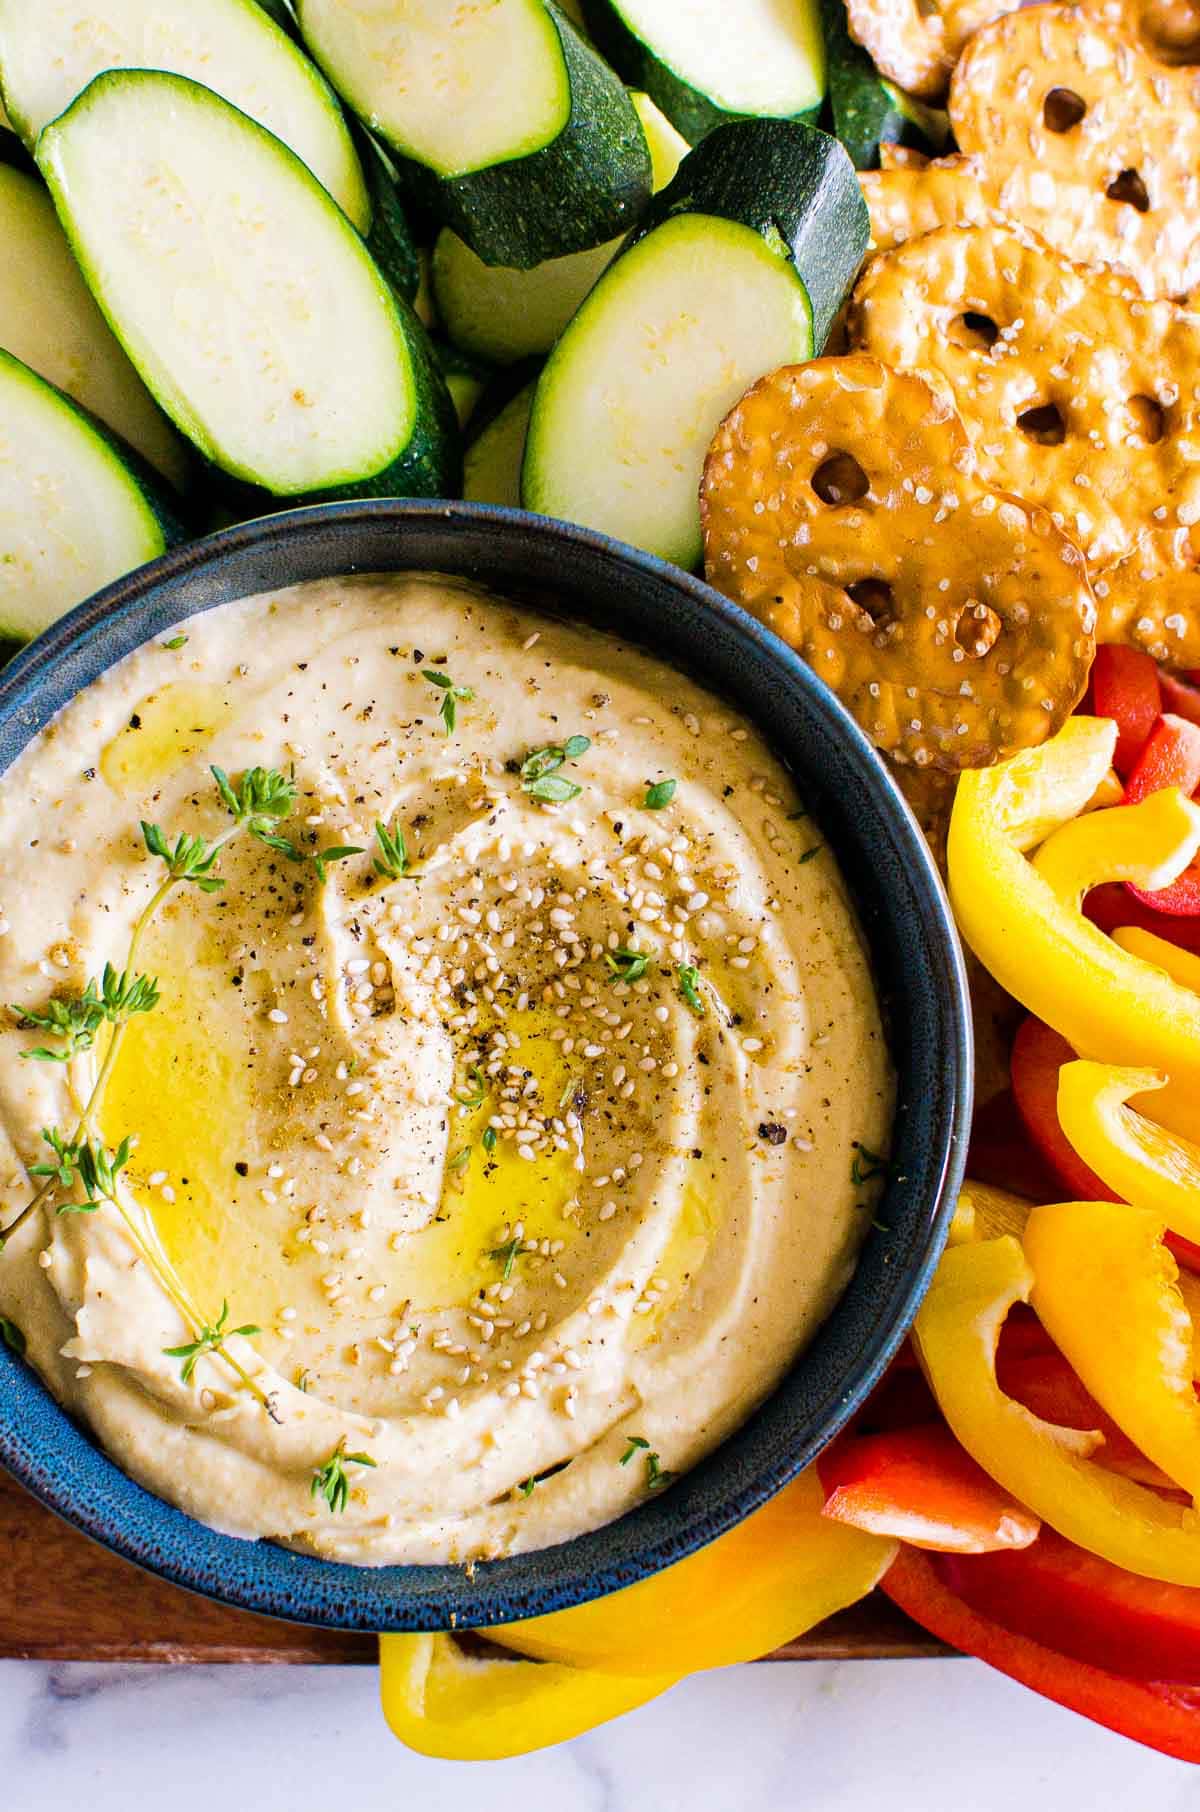
Table of contents
Easy Garlic Hummus Recipe
This yummy and healthy garlic hummus recipe came from a need to find the closest thing to an authentic hummus dip as possible. Our expectations were high because my husband lived in the Middle East for many years, so there was no skimping on taste, texture, or quality of ingredients. In the end, I delivered what I (and my husband) think is the best homemade garlic hummus recipe on this side of the Mediterranean Sea!
It’s fluffy, creamy, and loaded with delicious garlicky flavor. This recipe contains all healthy, fresh, and vegan-friendly ingredients, that when blended together, create a delicious dip for an appetizer, game-day snack, lunch box, or an appetizer. I used a can of low sodium chickpeas because my goal was to make low sodium hummus that still tasted better than anything store-bought, which is usually bland and a bit dry. I succeeded!
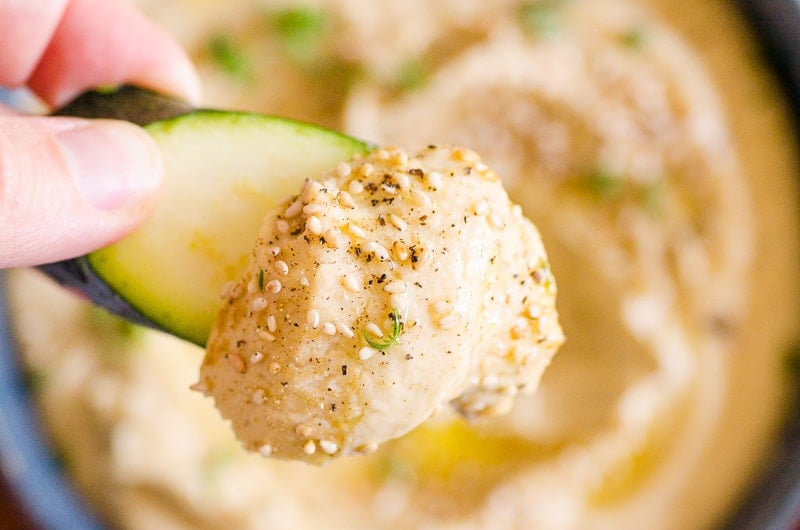
Make this simple homemade garlic hummus just once, and you’ll never go back to storebought again. I enjoy dipping raw veggies, chips, and pita bread in there, but you can also use it as a spread on a slice of toast.
What Is Hummus?
Hummus is essentially a dip. It’s made with few fresh ingredients including garbanzo beans (chickpeas), tahini, olive oil, lemon juice, and various spices, depending on the flavour profile. In this case, we’re adding garlic because we are making garlic hummus. It is a traditional staple in the Middle East and the Mediterranean. In North America we also love hummus and it’s easy to find store-bought versions all over the place. It’s just that many of us don’t realize how much better it really can be when we make it from scratch.
Why This Homemade Garlic Hummus Recipe Works?
- A super healthy low sodium hummus that is high in protein and made with real ingredients.
- Quick and easy dip easily ready for last-minute company, a quick snack before dinner, or anytime at all.
- Vegan friendly, but also dairy-free, gluten-free, and sugar-free.
- Delicious plain and simple. Loads of flavour and can be seasoned to your liking.
Ingredients for Whipped Hummus
No complicated ingredients to be found here. A super simple recipe including all things you probably have in your kitchen already.
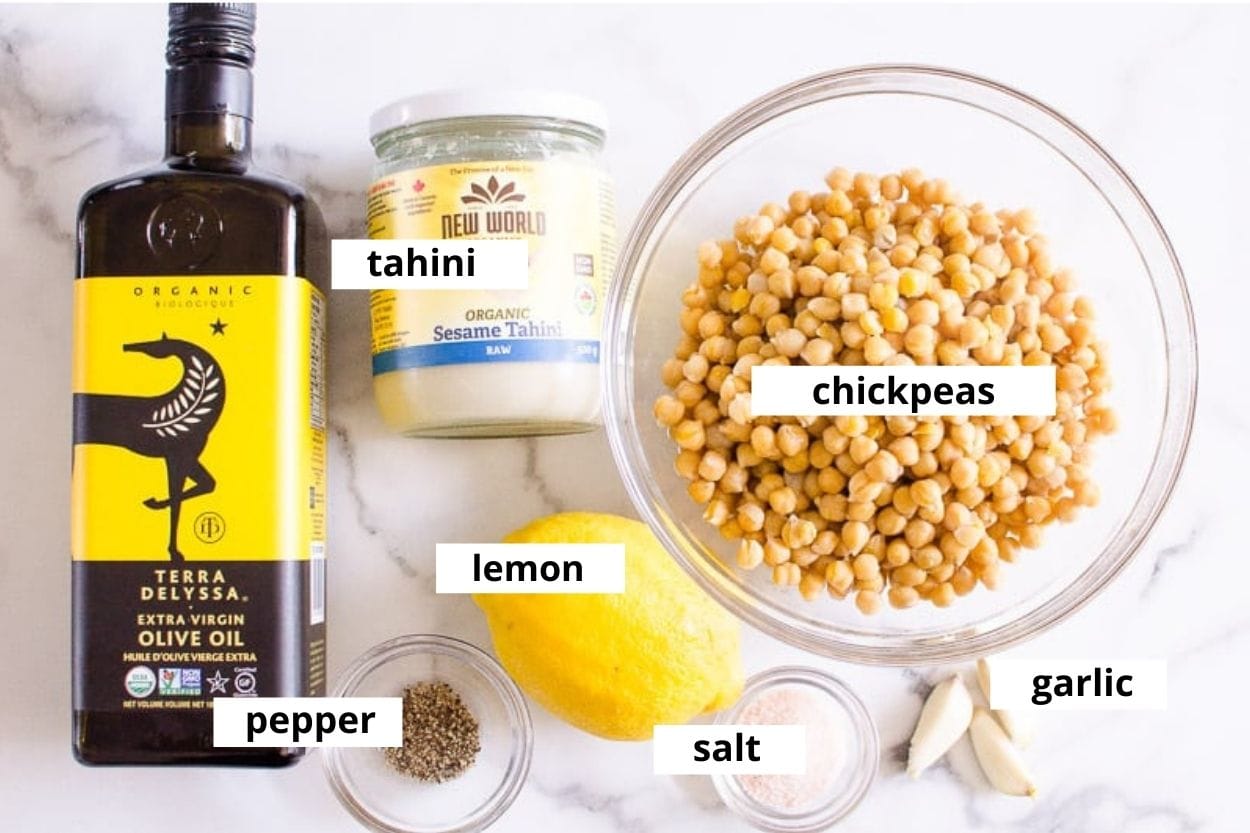
- Chickpeas or garbanzo beans – A can of low sodium beans, drained and rinsed (we are not using the aquafaba).
- Tahini paste – A sauce, or condiment made by blending sesame seeds and oil. A very earthy nutty flavor.
- Olive oil – Used for flavor but also to help blend and incorporate all the ingredients together.
- Lemon juice – The citrus is needed to cut through the low-key flavors of tahini and chickpeas.
- Garlic – Putting the garlic in garlic hummus!
- Salt and pepper – To season and taste.
3 Ways to Cook Chickpeas
Chickpeas or garbanzo beans are legumes and the main ingredient in hummus and below are 3 easy methods to getting them ready to use.
- Canned Chickpeas. No time? Let the grocery store “cook” chickpeas for you. Look preferably for organic, low sodium, and BPA-free canned chickpeas. These are the most healthy chickpeas you’ll find in a can. You will avoid consuming pesticides, plastic, and unnecessary sodium. Tip: Drain and rinse chickpeas. Do not use that gooey liquid from a can.
- Cooked on the Stove: Years ago I started cooking dried beans and freezing them in a can sized amount. It’s an old-school method like my grandma and mom used to practice in Ukraine. We had no cans. This method saves a lot of money, makes eating organic and BPA-free beans possible, and you have cooked beans on hand any time you need them for a quick dinner, like making chicken chickpea stew.
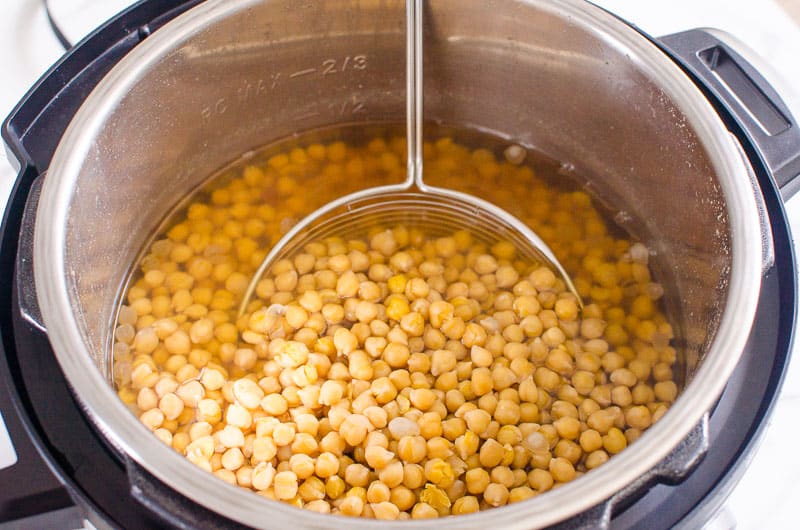
- Instant Pot Chickpeas: Buying an Instant Pot has been life-changing for cooking batches of staples like brown rice, quinoa, and now Instant Pot chickpeas. With a pressure cooker, you don’t have to soak the beans. They are ready in an hour with 1-minute prep. I freeze them in can size amounts and voila.
How to Make Garlic Hummus
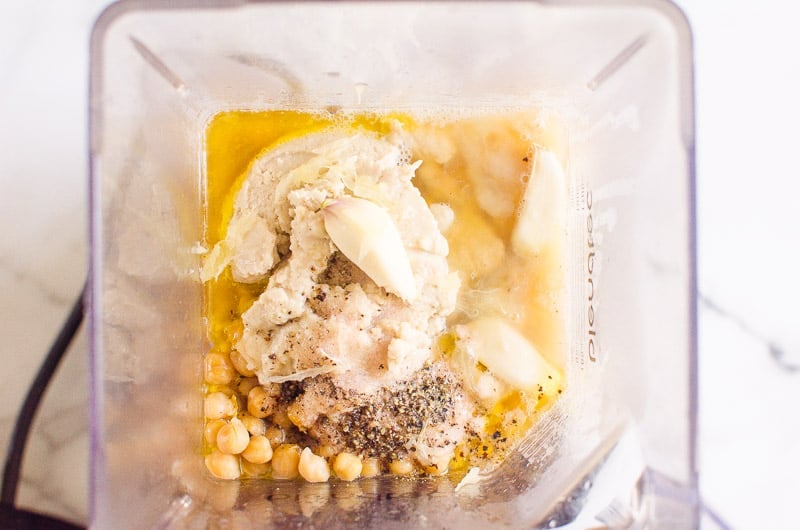
- Add all ingredients: Add water, tahini, olive oil, lemon juice, garlic, salt, pepper, and chickpeas to a powerful blender. In this order!
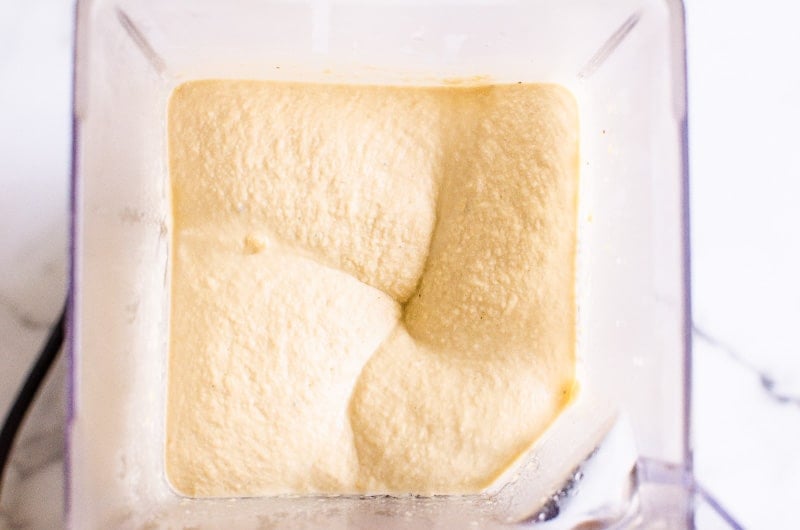
- Blend: Process until very smooth (or your desired consistency), pausing and scraping the walls along the way.
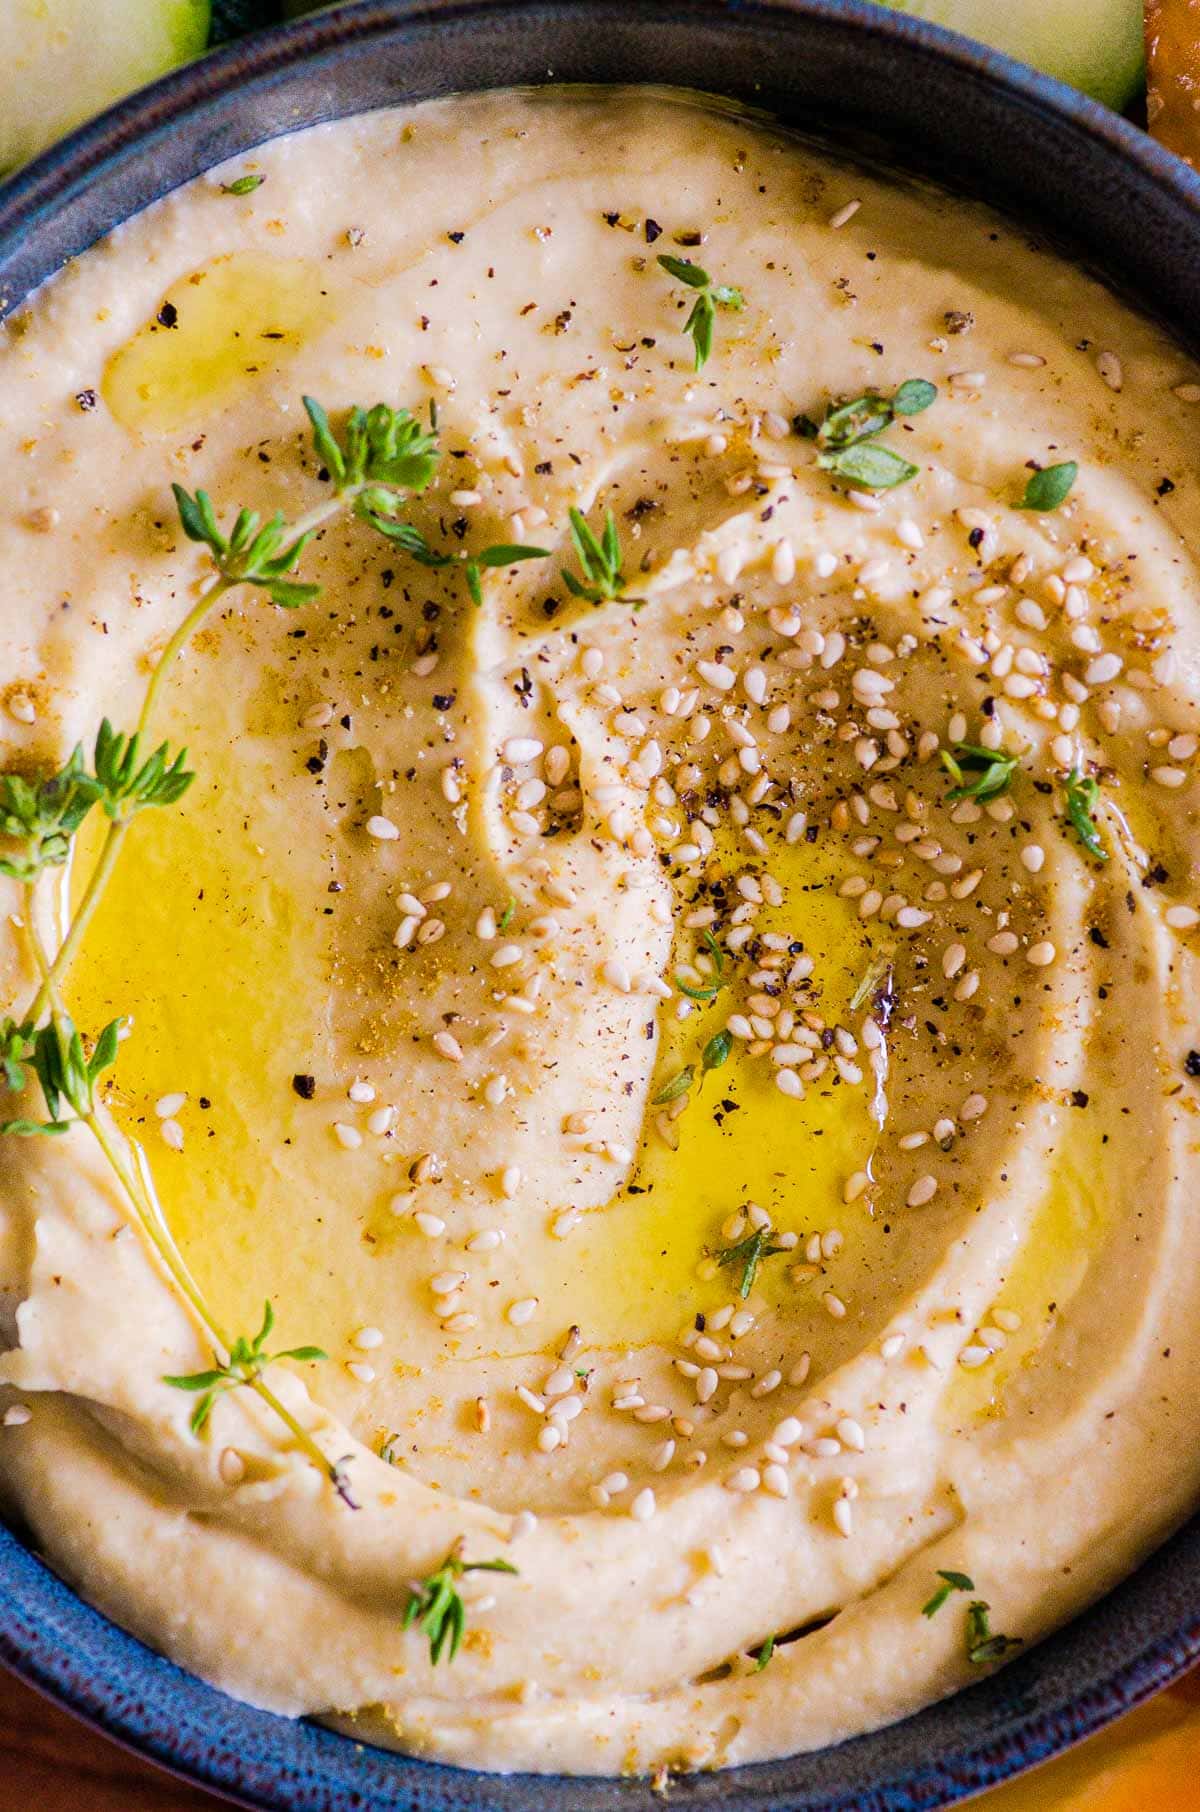
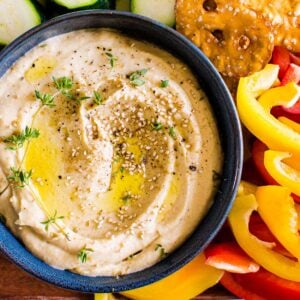
- Serve: Transfer to a serving bowl and drizzle with extra olive oil, sprinkle with sesame seeds or za’atar (a Middle Eastern spice blend that includes sesame seeds and other spices). Good luck not eating it by the spoonful!
Do You Have to Peel Chickpeas?
I have seen many recommendations to peel chickpeas for making hummus more creamy and smooth. Sigh. I will be very honest now – as a working mom of 2 kids I do not have time to peel 156 chickpeas for a bowl of hummus. Are you kidding me?! The answer to that question is no! Good on you if you have that kind of patience, but I think I will leave that up to the blender.
#olenafact – I do not believe peeling garbanzo beans makes a huge impact on hummus consistency.
Instead, do this…
Blender or Food Processor?
Use a blender.
Hands down, the best ever creamy and smooth hummus is created in a high-speed blender like a Blendtec or Vitamix. It’s the speed of the motor and blades that almost whips it.
You can absolutely use a food processor. I have done it many times, even with this little guy. The texture of the hummus will be just a tad more coarse.
Add-ins and Variations
OK, I personally think traditional hummus tastes amazing on its own (and not bland at all!), with a bit of garlic and a trusty blender!
If you feel adventurous, here are some ways to add flavour variations to this best garlic hummus recipe:
- Roasted red pepper – Add 1 cup grilled roasted red pepper without skin. Or just buy it in a jar. I’m all for healthy shortcuts. Make sure to drain it.
- Basil or thyme – Add 1/3 cup packed fresh basil leaves or a pinch of thyme.
- Spicy – Make a spicy hummus by adding a tablespoon of chipotle in adobo or 1/4 tsp red pepper flakes.
- Roasted garlic – Roast some garlic instead of using raw garlic and add it in there for a roasted garlic hummus. Keep in mind that roasting garlic removes almost all of its bite, so you can add as much as a whole head.
- Sun-dried tomatoes – Add 1/2 cup of a jarred kind. Make sure to drain the tomatoes.
- Sweet potato – Well, as luck would have it, I have a whole other recipe for that!
Pro Tip: Blend hummus for 30 seconds – 1 minute after adding above flavors.
Hummus Garnishes
Besides making this popular dip pretty, garnishes add another layer of flavour to this already delicious garlic hummus recipe.
- Olive oil – I swear that quality extra virgin olive oil tastes amazing. I could eat it with a spoon. I use the one from Costco, which is definitely not the best, but it’s a good one. If you can buy high-quality, cold-pressed, extra virgin olive oil directly from Italy, do it!
- Za’atar – Never heard of it? Za’atar a spice mix of za’atar herb itself mixed with roasted sesame seeds, sumac, salt, and other spices.
- Toasted sesame seeds – No za’atar? Just sprinkle one of its ingredients, toasted sesame seeds on top of drizzled olive oil.
- Pine nuts – Again, toast them in a skillet for a few minutes stirring constantly.
Serving Recommendations
Beyond the pita, here is what we like to do:
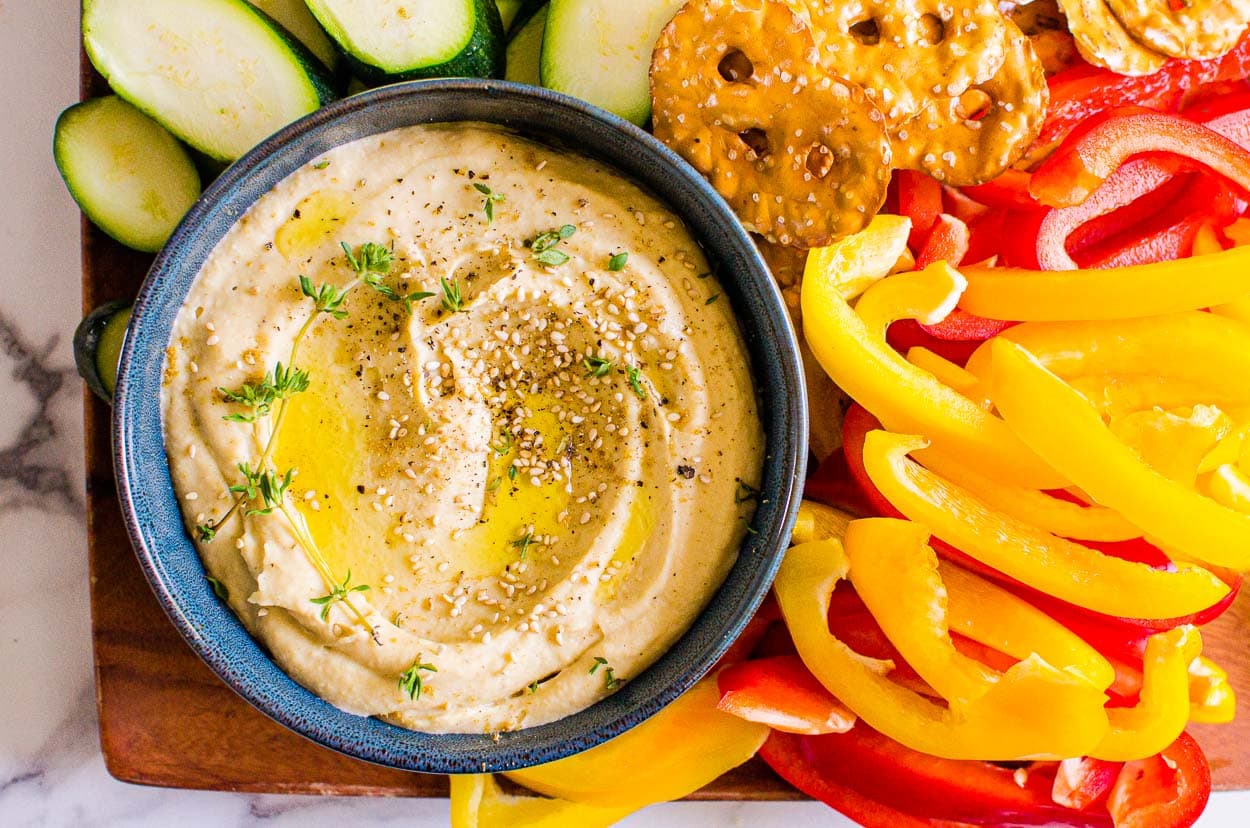
- Whole wheat pita – Buy a thin double-layered pita that you can open. Some stores sell fluffy chubby pitas as a bread that we like to cut in half and toast until just warmed through or crispy a bit.
- Pita chips – You can buy whole wheat low sodium pita chips like Stacy’s, or even a bag of organic chips. Pretzel chips are great too!
- Veggies – Cut up firm veggies like zucchini and cucumber into diagonal rounds and bell pepper into strips. Other great dipping veggies are snap peas and baby carrots. Include all on a charcuterie board for guests to pick and choose what they like best!
- Make a meal – Hummus can enhance and elevate any dish with simple protein, grain, and veggies. Serve with traditional Greek salad, quinoa tabbouleh, or grilled lemon rosemary chicken.
- Party food: Dips are a huge hit at parties, also make healthy cheese ball and stuffed dates for a variety.
Just have fun with it!
Making This Recipe in Advance
Make ahead: How long does hummus last? Homemade hummus stays fresh for up to 5 days in the refrigerator. To be honest, 1 week is pushing it. There is a condensation that builds up which creates possible mold growth and is a big yuck factor for me. I love leftovers with all my heart but it’s important to keep an eye on the freshness. Smell and look before consuming once it’s been in the fridge for a few days.
Store: Refrigerate in an airtight container for up to 5 days.
Freeze: Do not freeze.
FAQs
A resounding yes! Of course, as with anything, there are some folks who do not tolerate legumes and have a hard time digesting them, but for the rest of us, it’s amazing. High protein, high fibre, good fat from the olive oil, nutrients from the tahini, and of course Vitamin C from the lemon juice. So, dig in!
You can make it without tahini. Some people don’t appreciate the strength of the flavor, whether it be the slight bitter taste or the earthy flavour. You can opt to use sesame oil instead and still have that sesame flavour without the heavier tahini flavour.
First and foremost, stay away from store bought dip! Despite it being considered a healthy dip, prepackaged hummus more often than not comes with a high sodium content. Making it from scratch allows you to pick and choose what to put in it and what to keep out of it. Another way is to avoid canned chickpeas. This one is tricky because they are so convenient! You can buy low sodium, but even still, low does not mean there is none. If you do use canned beans, make sure to drain and rinse. And of course, watch how much salt you add to taste. If you’re really worried, you can skip the salt all together and add a bit more lemon juice.
It’s possible, especially if you use one of the flavour variations listed above. If you make a plain hummus without garlic, it may just be a bit bland. But if you’re ok with that, go for it!
More Healthy Creamy Dips to Try
Browse through all my favorite healthy snacks to make!
Garlic Hummus Recipe
Ingredients
- 3/4 cup + 2 tbsp water warm
- 1/4 cup tahini paste
- 1 tbsp olive oil extra virgin
- 1 tbsp lemon juice fresh
- 2 garlic cloves medium
- 1 tsp salt
- 1/2 tsp black pepper ground
- 14 oz can low sodium chickpeas drained & rinsed
Instructions
- Add all ingredients to a powerful blender in exact order as listed above: water, tahini, olive oil, lemon juice, garlic, salt, pepper and chickpeas.
- Process until very smooth, pausing and scraping the walls, if necessary. About 3-4 minutes.
- Transfer to a serving bowl, drizzle with extra olive oil and sprinkle with sesame seeds or za’atar.
- Serve with whole grain crackers or easy dipping vegetables like celery sticks, baby carrots, zucchini/cucumber slices, snap peas and grape tomatoes.
Notes
- Store: Store in airtight container up to 5 days in the refrigerator.
- Freeze: Do not freeze.



This is incredible – my tahini had gone rancid so I used 60 gr of cashews instead – super delicious- this is such a tasty hummus
So happy to hear, Nicole!
This our favorite recipe for Hummus now! Thank you Olena. Love your cooking! One time I didn’t have Tahini Paste so I used Almond Butter. Still was yummy
That’s awesome and great to know on the almond butter substitute!
First time making Instant Pot chickpeas – worked like a charm and so easy! And then on to the Garlic Hummus – it was so good! I like that I know what is going into it – no more store bought for me!
So happy to hear this Karen!
Im happy I came across your website. Im also a mom of a hungry 16 year old girl, So Im always on a mission to preparing healthy meals. The recipes are simple to understand and I like how you explain everything from preparation and food safety. Will be coming here more often. Thank you!
So happy to have you here!
Outstanding! This was the creamiest hummus I’ve ever made! The flavor of the garlic comes through loud and clear, which I love! Thank you!
Fantastic! Glad you enjoyed the recipe!
Does not need any of the water, whether you use vita mix blender or food processor it is too runny. Had to add another can of beans and more seasoning and garlic to save it. Otherwise tastes good.
Did you drain your can of chickpeas? Probably not and that’s why hummus was too runny…
You were right, Olena! Your garlic hummus recipe is so creamy! Into my recipe binder it goes.
YUM!!! This is the best recipe for hummus I’ve found online! It has too much pepper for my daughters taste, but it’s so easy to modify garlic and other seasonings to your taste. I highly recommend this recipe. I will be making it again
So yummy! Tastier than any store bought, so easy to make at home! This is my go to hummus recipe.
Fantastic! Glad you enjoyed the recipe, Trish!
I just made this today. I am awful for snacking on sugary and salty treats throughout the day so decided I was going to change my habit from today. This is something I will no doubt be making again and again. It is so amazingly tasty and foolproof. Will be passing it on! Thanks for sharing!
Awesome and thank you so much for sharing! I make this hummus all the time as store bought never tastes even close, plus it’s hard to find organic hummus. I refuse to eat full of GMO canola oil hummus. So easy to make at home and keeps well.